Friday, June 8, 2007

Kitchen....some after pics

This is where new cabinets were added. Dusenbery, the retard that lived there before I did, had random wire shelving above the fridge and to the left of it. It looked like absolute garbage. Here's the new cabinets in place...(notice Chloe in the background looking out the window next to her favorite catnip plant)

Photo Sharing and Video Hosting at Photobucket

stove area...

Photo Sharing and Video Hosting at Photobucket

I loved this little accent shelf! Perfect for a little plant or a picture of Mista Clyde or Chloe-benet! I also painted the soffets a pretty golden color...it really brought all of the colors together, without being overpowering...

Photo Sharing and Video Hosting at Photobucket

Photo Sharing and Video Hosting at Photobucket

That little corner cabinet is my favorite cabinet ever! its the cutest....perfect for spices and little stuff. Somtimes Chloe (who is queenie of the counters), stands on her little hind legs and tries to open it :)

Photo Sharing and Video Hosting at Photobucket

Glass Block Wall...

My goal was to remodel my dated kitchen as well as come up with a creative way to seperate my kitchen and loft master bedroom. I have always liked working with glass block because it provides privacy as well as admitting light to a space. We had done a glass block breakfast bar in my condo in Chicago and I loved it.

We (And when I say "we" I mean mainly my DAD with me assisting!!! and Carl helping too :) also were able to install an artwork ledge directly underneath the glass block wall for displaying my artwork with hidden puck lights for illumination. I choose to use mortor-free glass block install kits, to save time, mess and money, which made the job much easier. The extra money went toward the costs of the new kitchen laminate wood flooring, new cabinets, and countertop. The railing came out quite easily, since it was completely unstable in the first place LOL

Here's a few pics of the glass block wall in progress...

Photo Sharing and Video Hosting at Photobucket

Photo Sharing and Video Hosting at Photobucket

Photo Sharing and Video Hosting at Photobucket

Photo Sharing and Video Hosting at Photobucket

Wednesday, June 6, 2007

Kitchen Remodel - Before pics

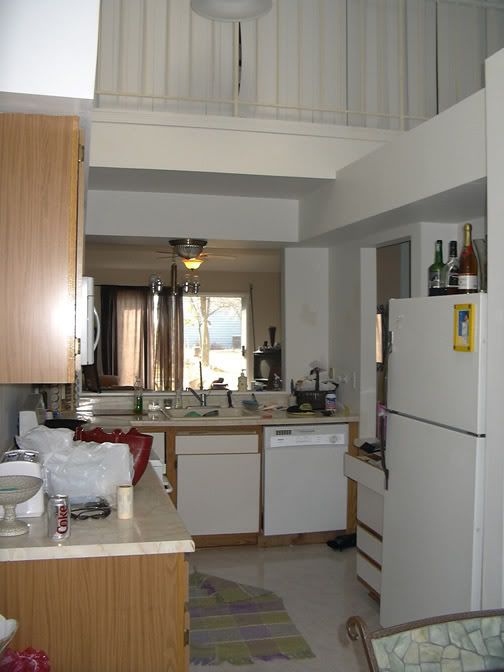
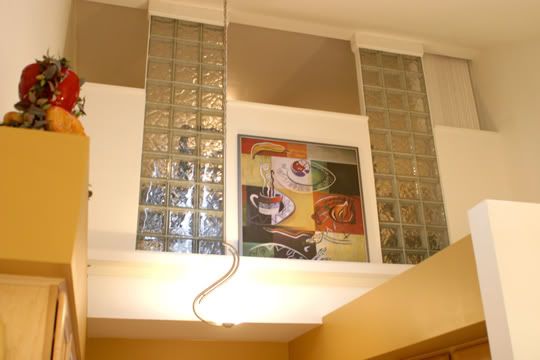
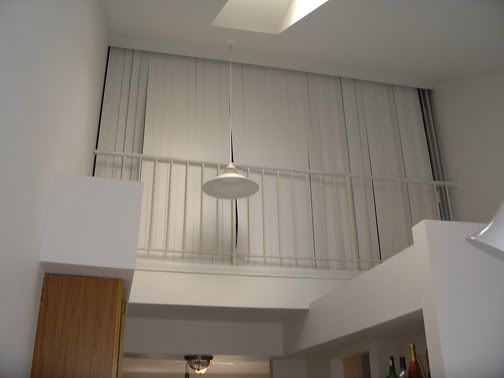
You can't tell from the pic, but that railing was completely unstable. I think the idiot that lived there before me put it in with gum!

Photo Sharing and Video Hosting at Photobucket

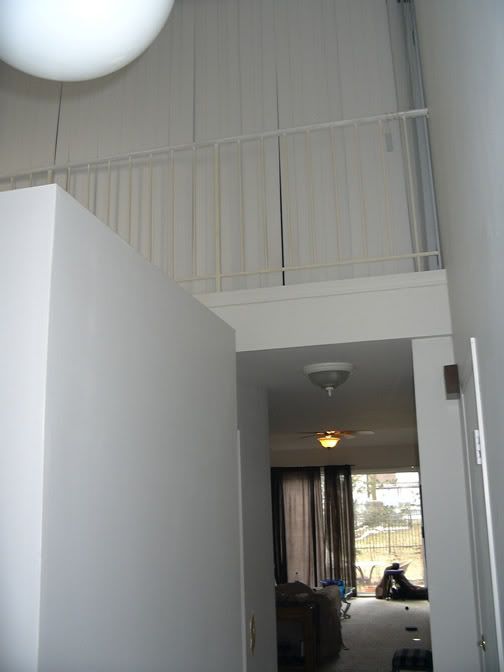
Ugly light fixture...ugly blinds....

Photo Sharing and Video Hosting at Photobucket

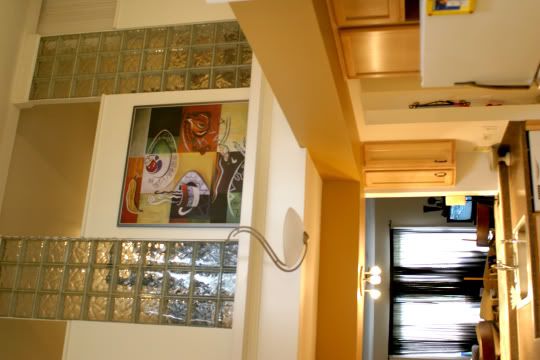
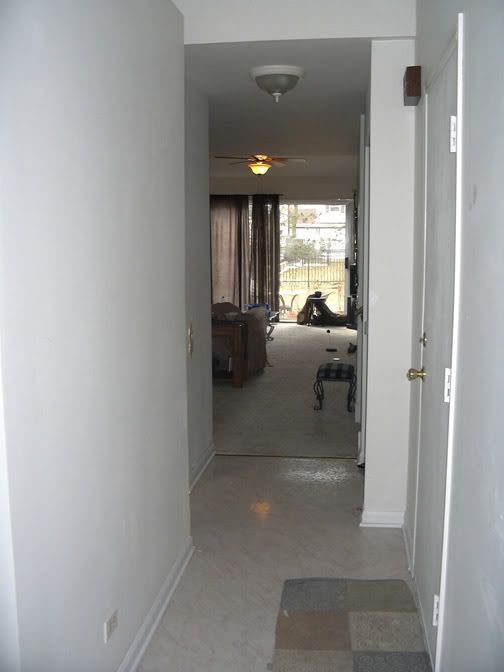
ugly vinyl tile...he didn't install the tile correctly, in the corners, he pieced it in and you could see where there was supposed to be one large piece, he cut it with scissors and put together pieces of scrap. It looked like complete crap! Removing the tile (3 layers worth) was a NIGHTMARE! It was summer, and you had to peel it off. Didn't come off easy so you had to blowtorch section by section...inhaling the nasty fumes and dealing with the heat...it was like flypaper. Your feet completely stuck to the floor. Lockdown!

Photo Sharing and Video Hosting at Photobucket

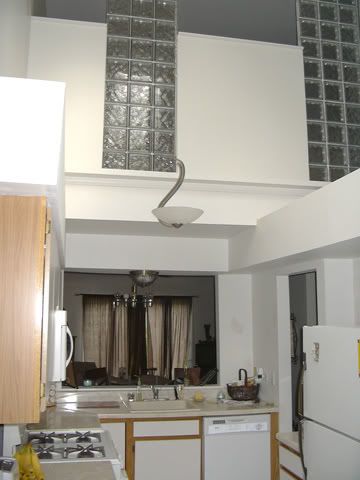
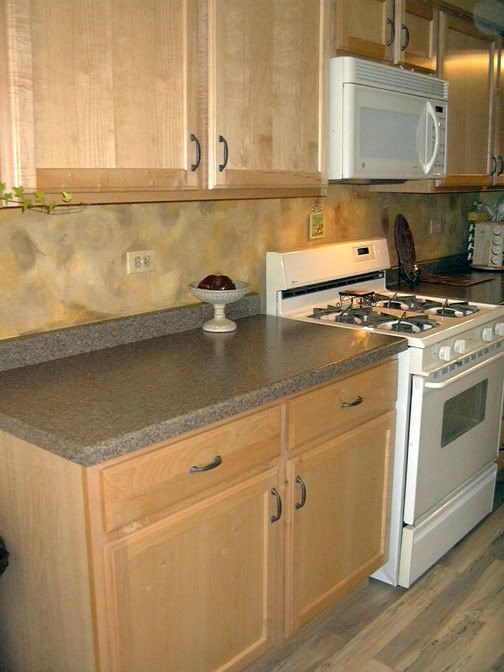
80's cabinets...80's countertops...gross sink...and they used to have these ugly white wire shelving pieces randomly placed below the cabinets....and the dishwasher didn't work. Upon inspection, I was told that it had been leaking for a really long time and the people just left it!!

Photo Sharing and Video Hosting at Photobucket

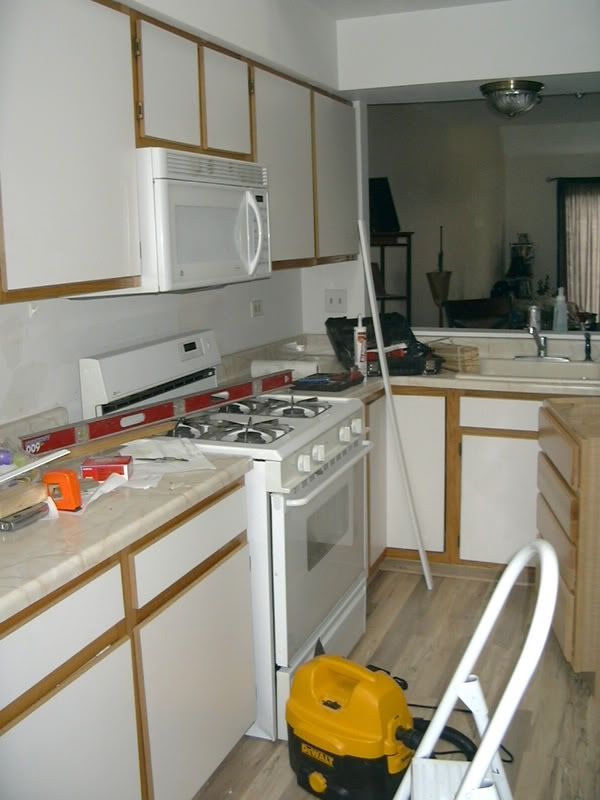
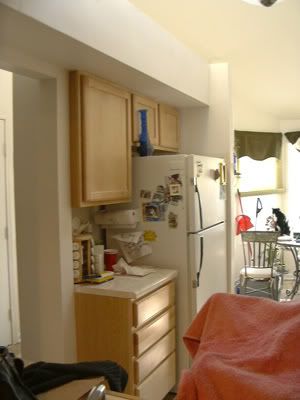
Originally, there was no cabinet to the upper right of the sink...and no cabinets above the fridge and to the left of the fridge.

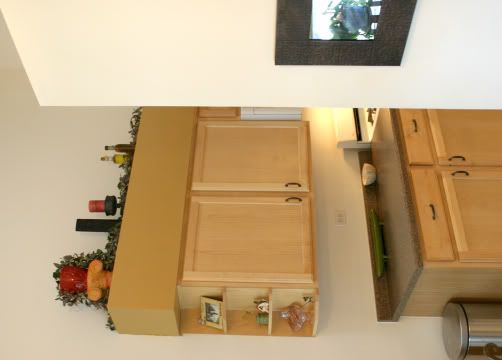
You can see here how much the dishwasher was dipping the floor...you could feel it when you walked on it! It must've dipped at least an inch. When we removed the dishwasher it was the most disgusting thing to see and smell ever...Black mold...and it stunk like a corpse. Lovely!

Photo Sharing and Video Hosting at Photobucket

Kitchen Backsplash

After the exhausting (and expensive!!) job of remodeling the kitchen...I didn't want to have to tile the backsplash, but thought it looked too plain to have nothing there. So I decided to faux finish. I'd had luck with faux finishes before and really enjoy doing them...here's some pics (It's actually a bit brighter in person then in the pics!):

Photo Sharing and Video Hosting at Photobucket

Photo Sharing and Video Hosting at Photobucket

Photo Sharing and Video Hosting at Photobucket

New breakfast bar...the edge still needs finishing. I was planning on getting 1" glass tiles and edging it that way...The tiling of the breakfast bar was really easy! No measuring...I just went to Home Depot and spent about $10 on random tiles that I liked (that matched the colors of the kitchen), put them in a big box, hit 'em with a hammer, and did a random mosaic pattern. Then picked a mocha-colored grout....

Photo Sharing and Video Hosting at Photobucket